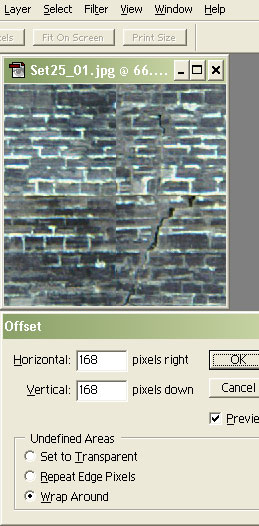
Using the Offset filter
to see tile borders in Photoshop
Step Four: Tile It
Of course, this only applies if your graphic is the kind that is supposed to tile. All flats are made to tile, of course, and most textures, too. If you drew it from scratch, this step is probably taken care of.
For scans and photos, you have to pull all kinds of tricks to get things to tile well. Often you'll have to copy and paste from one part of an image to another, or even redraw a portion maually. Matching edges can be done with stamping (in Photoshop), copy/pasting, smearing, blurring, and redrawing/painting; usually it takes some of all of the above.
Photoshop makes this somewhat easier with the Offset tool (Filter/Other/Offset). Enter offsets of half the height and width of the image. For example, if your image is currently 512 X 512 pixels, enter 256 for both horizontal and vertical offsets. That will put the unmatching edges in the center of the image, allowing you to clearly see how the edges will mate when tiled, and try various ways to match them.
If you don't have an Offset filter type of command in your program, you can sort of work around it by making a version of your graphic that is four times as large, and copy and paste it into each corner. Then smooth out the edges, and crop it to the center again. It's a pain to have to do that over and over again on the same graphic, though, each time you decide you need to fix something after seeing it in the game. With the Offset filter, life is good.


